Windows
To install Stalwart Mail Server on Windows, download latest release of the stalwart-mail package. Then, initialize the installation directory by running the stalwart-mail.exe executable:
C:\Downloads> stalwart-mail.exe --init "C:\Program Files\Stalwart Mail"
Then, move the stalwart-mail.exe binary to the installation directory:
C:\Downloads> mkdir "C:\Program Files\Stalwart Mail\bin"
C:\Downloads> move stalwart-mail.exe "C:\Program Files\Stalwart Mail\bin"
Start service
To run Stalwart Mail as a service, follow these instructions:
- Download the NSSM service manager.
- Run in your terminal:
nssm install Stalwart_Mail - Once the NSSM GUI appears, configure the service using the following parameters:
Path: C:\Program Files\Stalwart Mail\bin\stalwart-mail.exe
Startup directory: C:\Program Files\Stalwart Mail
Arguments: --config="C:\Program Files\Stalwart Mail\etc\config.toml" - Click on the Install Service button.
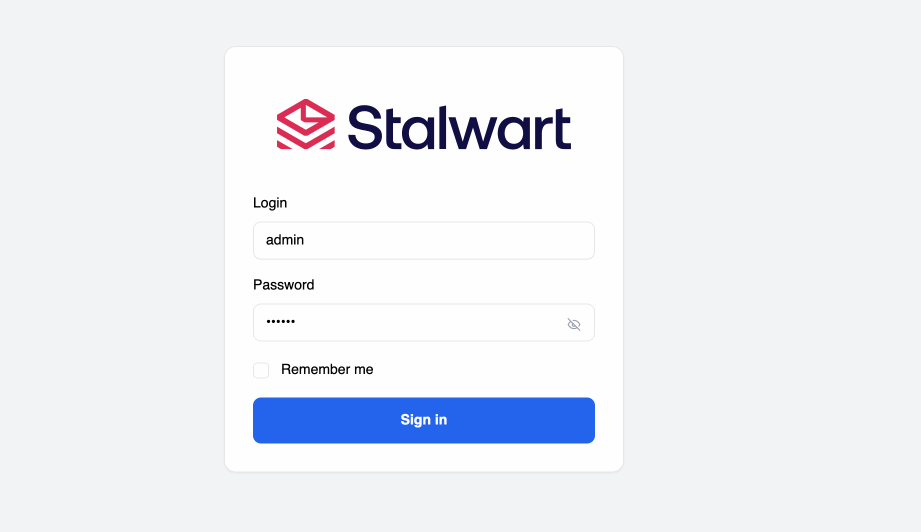
Log in to the web interface
Once the installation is complete, the installation script will print out the administrator account and password:
$ sudo sh install.sh
✅ Configuration file written to /opt/stalwart-mail/etc/config.toml
🔑 Your administrator account is 'admin' with password 'w95Yuiu36E'.
🎉 Installation complete! Continue the setup at http://yourserver.org:8080/login
With this information, you can log in to the web interface at http://yourserver.org:8080/login.
Choose where to store your data
Once you have logged in, go to the Settings > Storage section and configure your data, blob, full-text and lookup stores. Read the get started section for more details on the available options.
If you would like an external authentication directory such as LDAP or SQL, go to the Settings > Authentication section and configure your authentication backend.
Stalwart Mail Server comes pre-configured with RocksDB as the default backend for all stores. You can skip this step if you are happy with the default configuration.
Configure your hostname and domain
Next, make sure that the server hostname in Settings > Server > Network is correct. Then, add your main domain name in Management > Directory > Domains. After creating the domain, the interface will display the DNS records that you need to add to your domain's DNS settings.
For example:
MX  example.org.                      10 mail.example.org.
TXT 202404e._domainkey.example.org.   v=DKIM1; k=ed25519; h=sha256; p=MCowBQYDK2VwAyEAOT2JN9F8SLTVFNEODDu22SD9RJDC282mugCAeXkzjH0=
TXT 202404r._domainkey.example.org.   v=DKIM1; k=rsa; h=sha256; p=MIIBIjANBgkqhkiG9w0BAQEFAAOCAQ8AMIIBCgKCAQEAykeYJjv5N0AlnJ8gKF+/8qjbStiMFWvPg+p3JPh96GPXEN6l9W/Ee6Lag6i3vLyTVH5dnRVRBhfWhc+Dc0nKreZe4f5i4L5M4RI31+RpEgu4bCmncUIk2WzJgGBW5XbiOwXjge6OKWtJQN9d8Lc1AuryL5xeged9iS6xd/+EJz4WxAf18U+j38xmAm8fJUTBnQVeb/AZup+voSKAS59jyumsb0jQtXfX5xnwTFXdiX2OF8LRrmmNs/ObHozgHftxAv+YCiSU4bqSlKNPQIrN5kk1YnZDnLlc1Gr66AWlmdUVE7PWtZPTy4f8+uHO93EW3WUxLmynZm+Syn9FTJC2uwIDAQAB
TXT mail.example.org.                 v=spf1 a -all ra=postmaster
TXT example.org.                      v=spf1 mx -all ra=postmaster
TXT _dmarc.example.org.               v=DMARC1; p=reject; rua=mailto:[email protected]; ruf=mailto:[email protected]
Some of the autogenerated records may be optional depending on your setup, read the understanding DNS records section for more information.
Enable TLS
Stalwart Mail Server requires a valid TLS certificate to secure the connection between the server and the client. You can enable TLS in one of the following ways:
- If you already have a TLS certificate for your server, you can upload it in the
Settings>Server>TLS>Certificatessection. - If you don't have a certificate, you can enable automatic TLS certificates from Let's Encrypt using ACME. To enable ACME, go to the
Settings>Server>TLS>ACME Providerssection and add Let's Encrypt as your ACME provider making sure that your server hostname is listed as one of the Subject Names. Stalwart supports thetls-alpn-01,dns-01andhttp-01challenges, if you are unsure which one to use, read the ACME challenge types documentation. - If you are running Stalwart behind a reverse proxy such as Traefik, Caddy, HAProxy or NGINX, you should skip this step and configure TLS in your reverse proxy instead.
Restart service
Once you have completed the setup instructions, restart Stalwart Mail server.
Next steps
If you have selected to use the internal directory, you can now add your users in the Management > Directory > Accounts section. If you have selected an external directory, you will need to create users in your directory server.
If everything went well, your users should now be able to connect to the server and send and receive emails. If you are unable to connect to the server, check the log files from the web-admin or under <INSTALL_DIR>/logs for any errors.
If you have questions please check the FAQ section or start a discussion in the community forum.
Before making your server publicly accessible, it is advisable to disable any unused services to enhance security.
Setup demonstration